

How do I import my vehicles from a file?
- Manager v3
- Administrator
- Agency manager
In short. Fleet › All vehicles › “Import vehicles”: drop a CSV or Excel file, match the columns, choose a default category and agency, fix the rows in error, then start the import. It creates vehicles, it never changes any.
Is your fleet in a spreadsheet or in an old system? Import it in one go. The import creates vehicles; it never changes an existing vehicle: an identifier (registration or internal number) already used, in the file or in your fleet, makes the row one to fix.
Importing is done on a computer or a tablet. To import vehicles, customers and bookings together, see How do I import my vehicles, customers and bookings in one go?. For a single vehicle, see How do I add a vehicle from its number plate?.
Open “Import vehicles”
In Fleet › All vehicles. The panel has five steps: File, Columns, Check, Sending, Report.
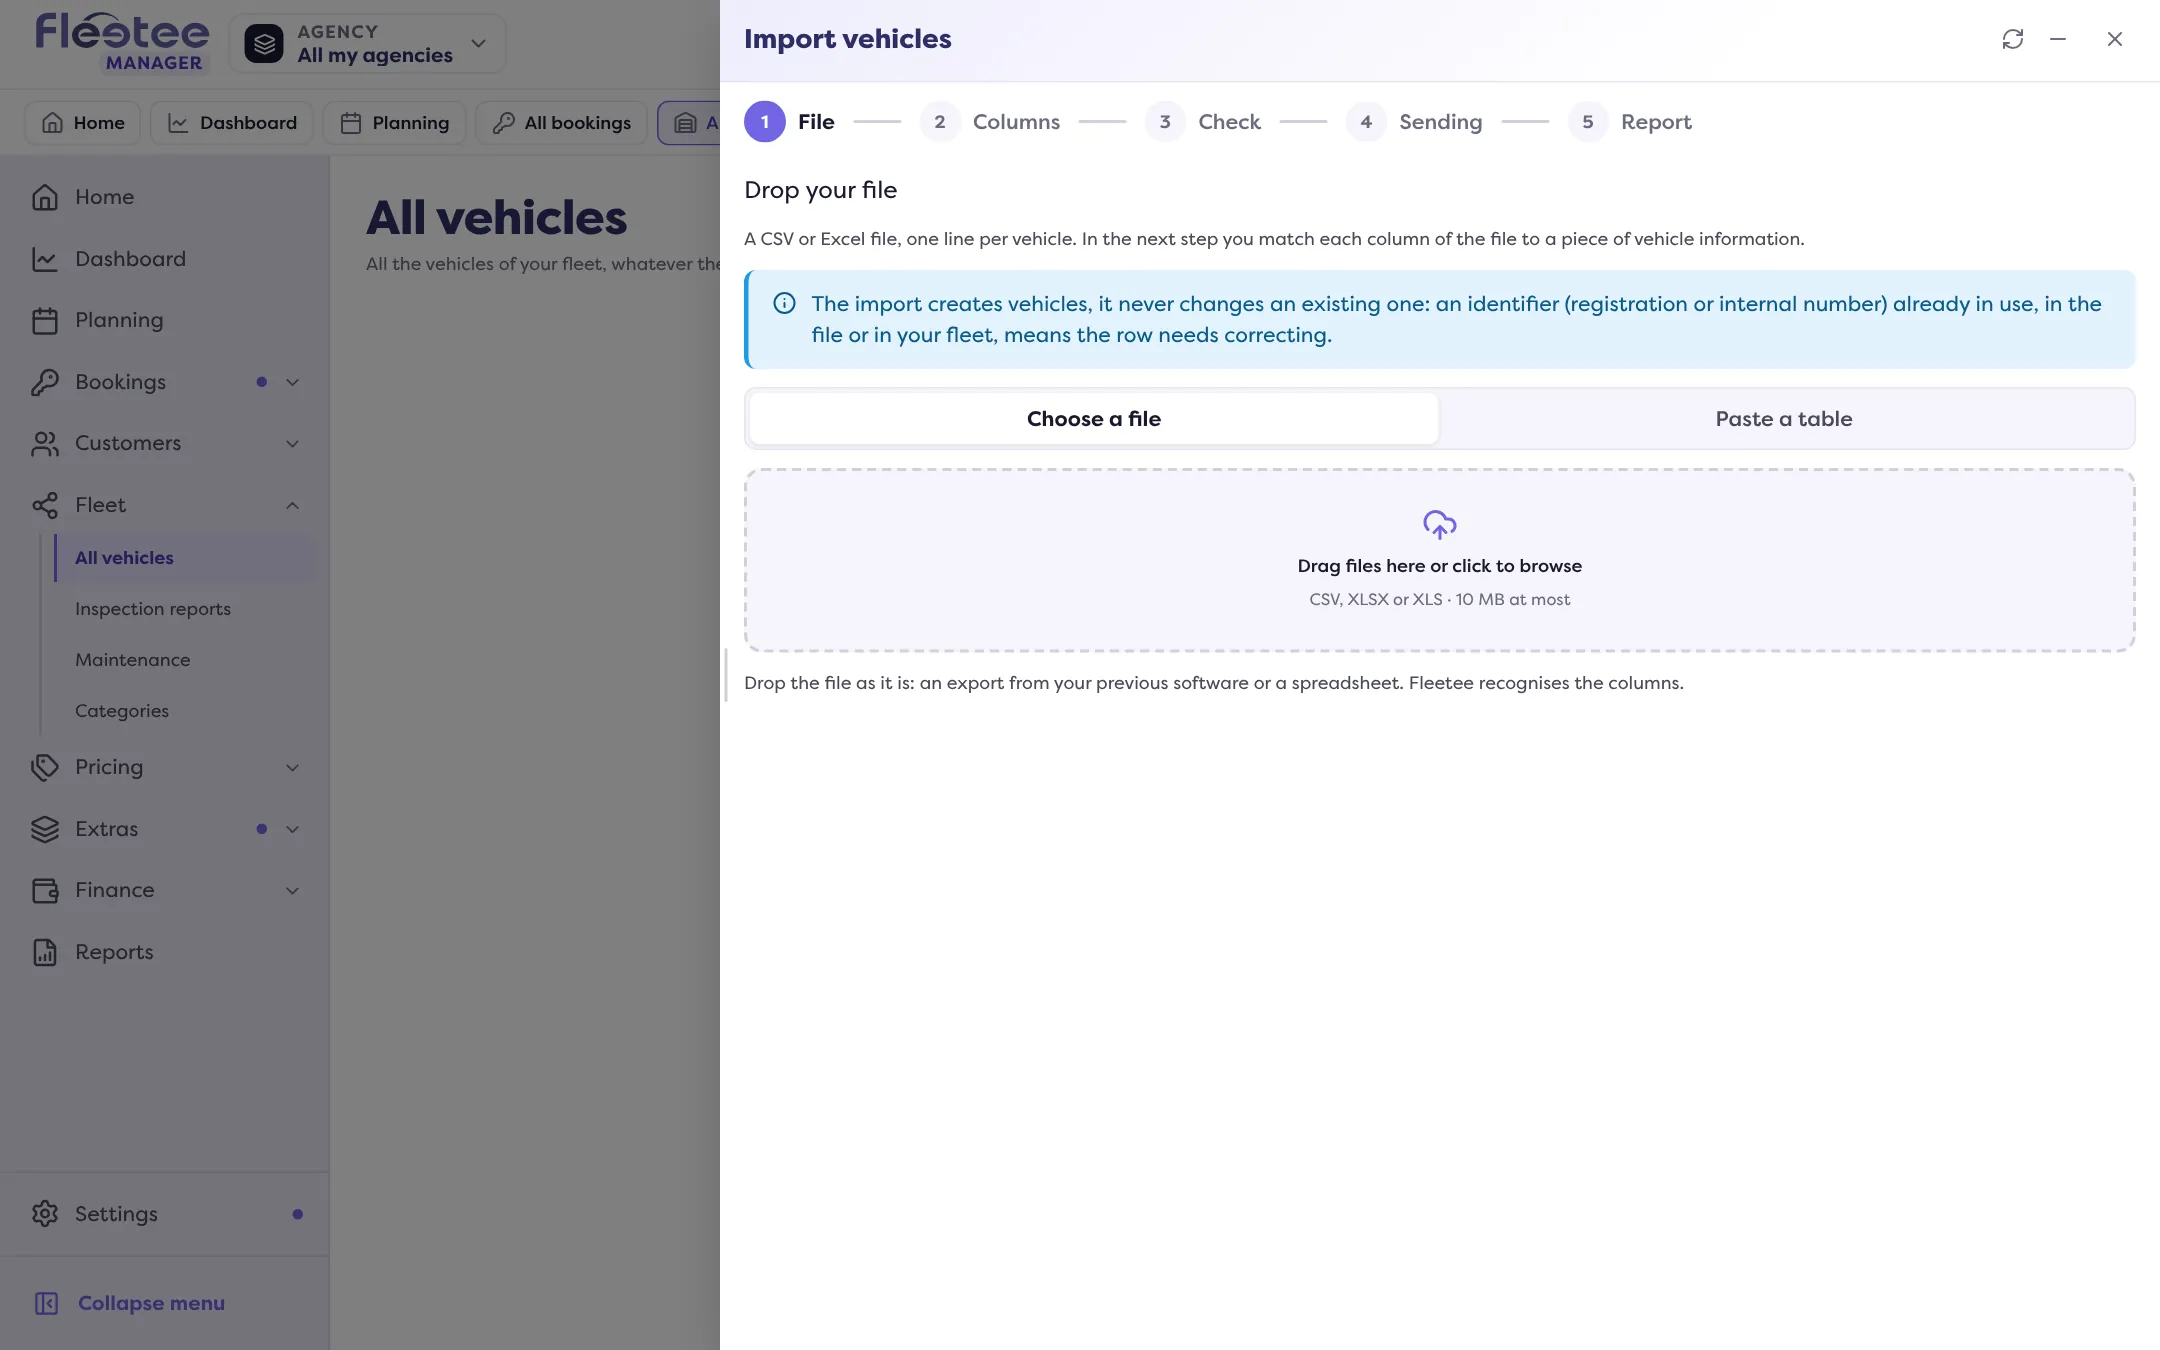
Drop your file
CSV, XLSX or XLS, 10 MB at most, one row per vehicle. Drop the file as it is: Fleetee recognises the columns.
Match the columns
For each column, choose the vehicle detail it holds, sorted by group (Identification, Attachment, Characteristics, Equipment, Acquisition, Custom properties, Other fields), or “Ignore this column”. Choose a default category and a default agency: they serve the rows that have no category or agency; a “Category” or “Agency” column stays first. The category decides the vehicle’s type and the information offered. Fleetee warns if a category, an agency or an identifier column is missing. Click “Start the check”.
Read the check
Counters: Ready, To fix, Duplicates, Excluded. A row is to fix if its category or agency does not exist (or several categories share the name), if the agency is not one of yours, or if the identifier is already used. A vehicle whose status says “sold” is left out.
Fix or exclude rows
Fix a cell in the table, “Download the rows to fix” to work on them in a spreadsheet, or “Exclude the rows in error” to import the rest (they can be brought back one by one from the Excluded tab). The “What the import will do” block announces “N vehicles will be created, N rows left out”.
Click “Start the import”
Confirm: a started import cannot be undone. It goes on even if you close the tab, and you can minimise the window. “Stop the import” finishes the block in progress; what is created stays, “Resume the import” continues with the remaining rows.
The report gives the vehicles created, left out and failed, with the reason. Past imports are found under “Previous imports” (file, author, date, result), with “Resume”, “Follow” or “Report”.
Before you start
- Your categories must exist: see How do I create a vehicle category?. A category column whose name matches no category makes the row one to fix.
- Your own fields (beds, frame size…) can be imported: they are offered in the Custom properties group (see How do I add my own fields to vehicles, bookings and customers?).
Where to find it: Fleet › All vehicles › “Import vehicles”
Where to find it: Fleet › All vehicles › “Import vehicles”
Go further
Updated on 18 November 2026 with version 3.0