

How do I publish a blog post or create a form?
- Web v2
- Marketing
In short. In Blog, create a post, write it, set the excerpt and SEO, then “Publier”. In Formulaires, “Nouveau formulaire”, add fields, set “Après l’envoi”, insert the block in a page and test a real submission.
Fleetee Web has two content tools next to pages: the Blog, for your posts, and Formulaires (forms), to collect requests. Each has its own save cycle.
Fleetee Web is displayed in French. The names below are quoted as they appear on screen. You need edit rights: with read-only access, ask your administrator.
Publish a blog post
Open Blog and create the post
Fill in Titre de l’article (post title), then write in the “Commencez à rédiger votre article…” (start writing your post) area: an introduction, short paragraphs, the editor’s headings and lists. Add the cover image above the title.
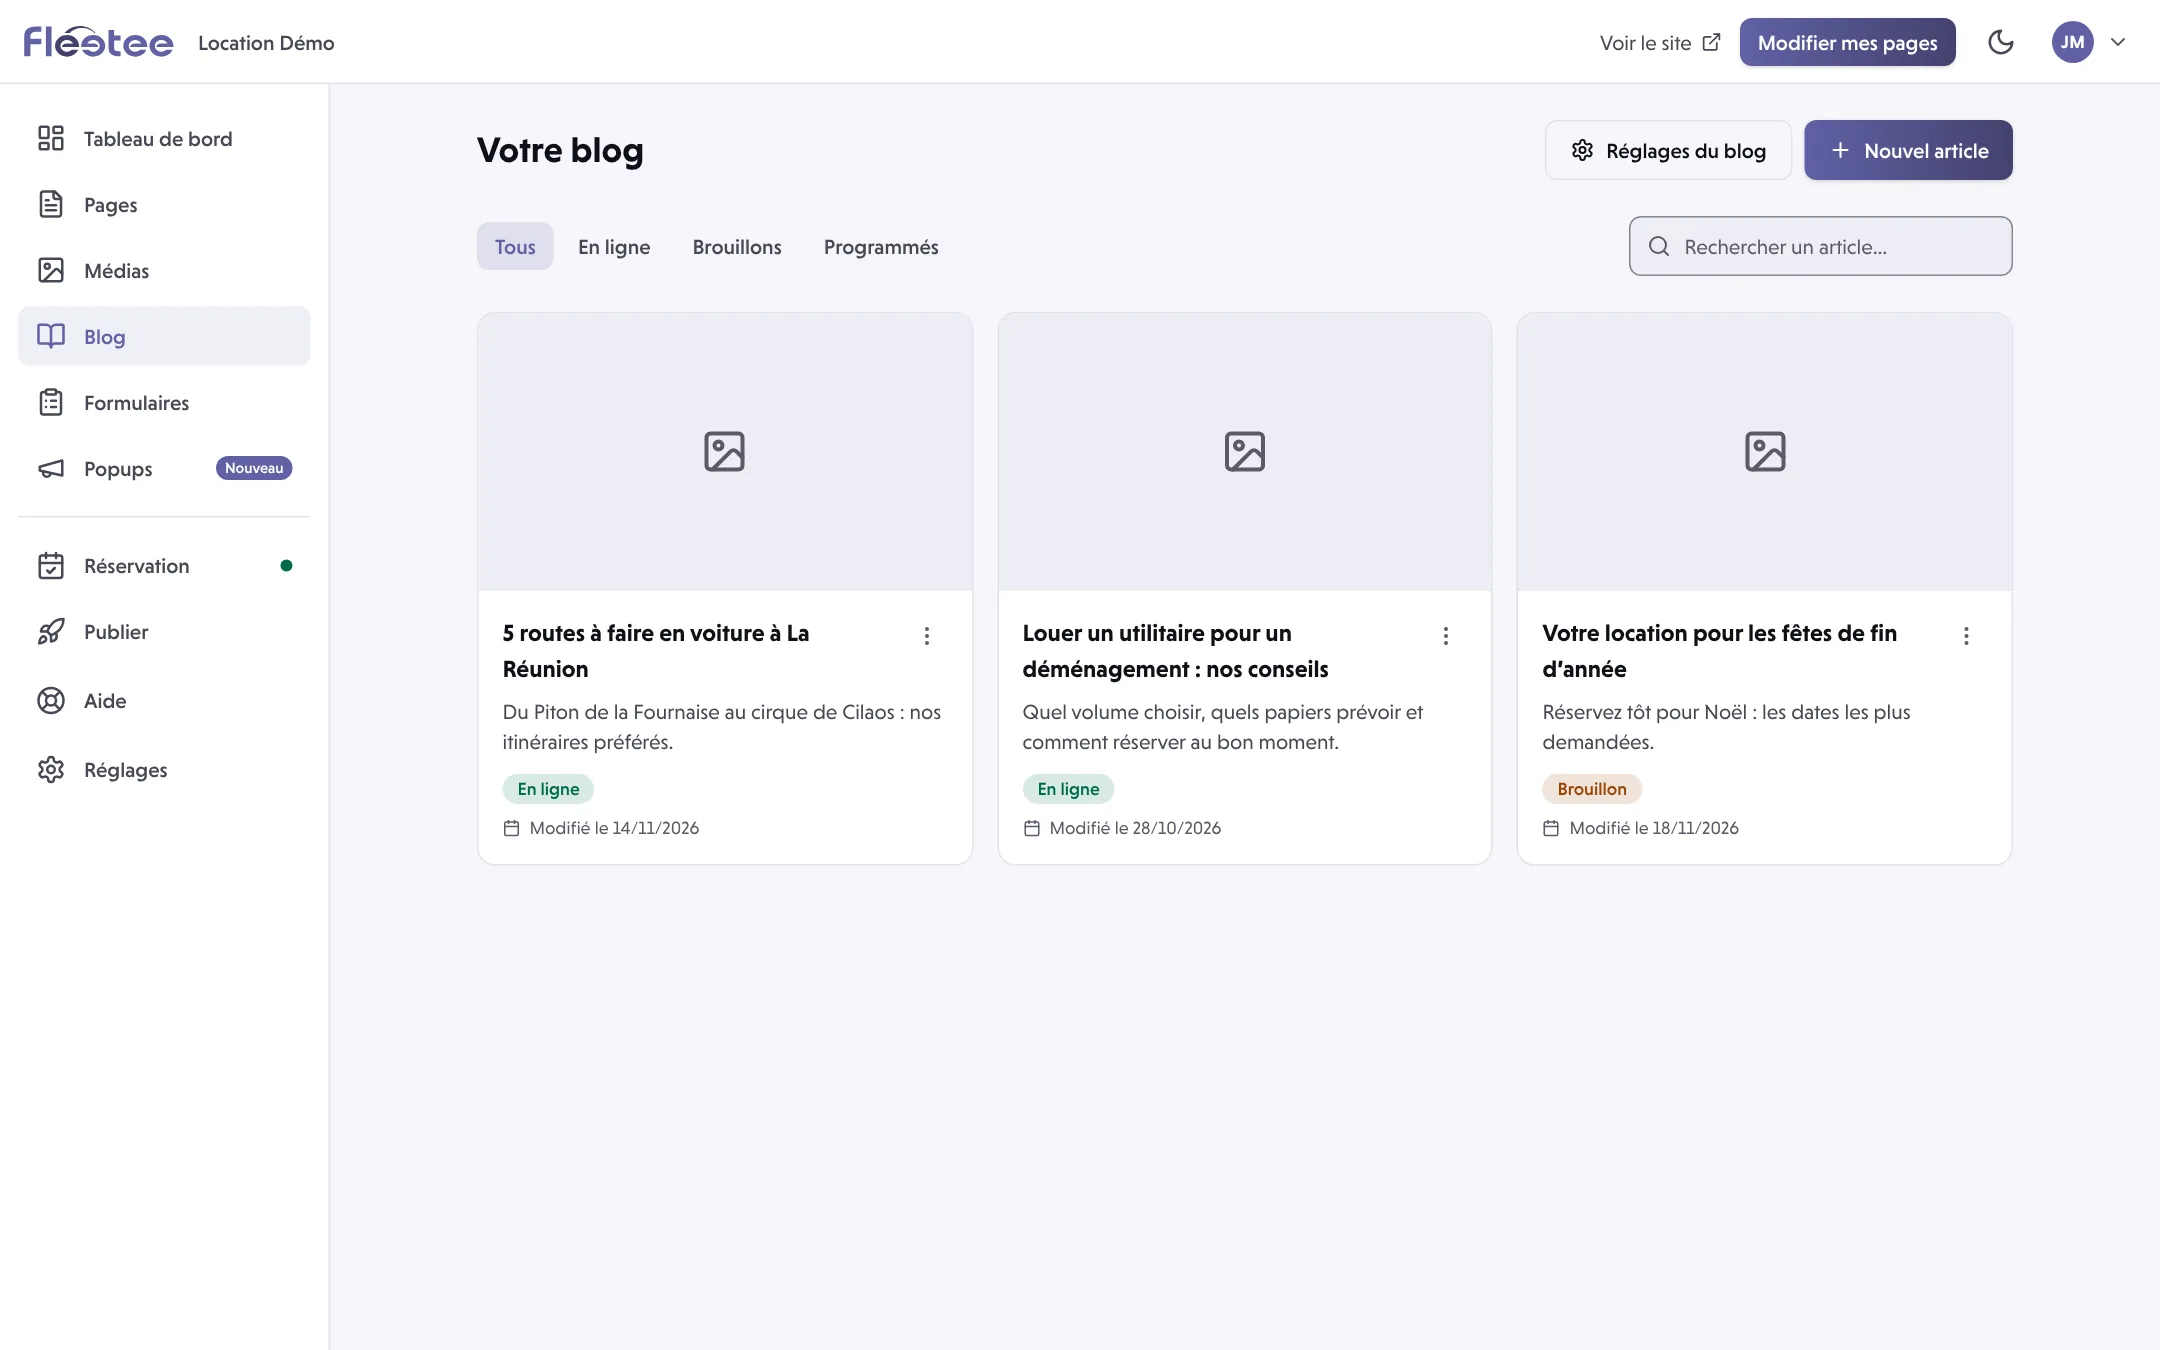
Open “Réglages de l’article” (post settings)
Choose a category (or Nouvelle catégorie) and, if useful, keywords. Fill in the Extrait (excerpt): a short presentation that makes people want to open the post.
Prepare SEO and the date
Titre SEO and Description SEO: a faithful summary of the content. They do not guarantee a search-engine ranking. Check the Date de publication: a future date offers Programmer (schedule) instead of Publier (publish).
Click “Enregistrer le brouillon” (save draft)
Your work is kept without going online. Re-read the title, links, cover and settings.
Click “Publier” (or “Programmer”)
For a post that is already online, Mettre à jour (update) applies your changes; Dépublier (unpublish) takes it off.
Check the public result
Open the public link offered, check that the post appears in the blog list, in the right language, then read it on a phone.
A draft or a scheduled post is not visible to visitors. If your site has no link to the blog, add one to the menu: see How do I organise the menu and translate my website?.
Create a form
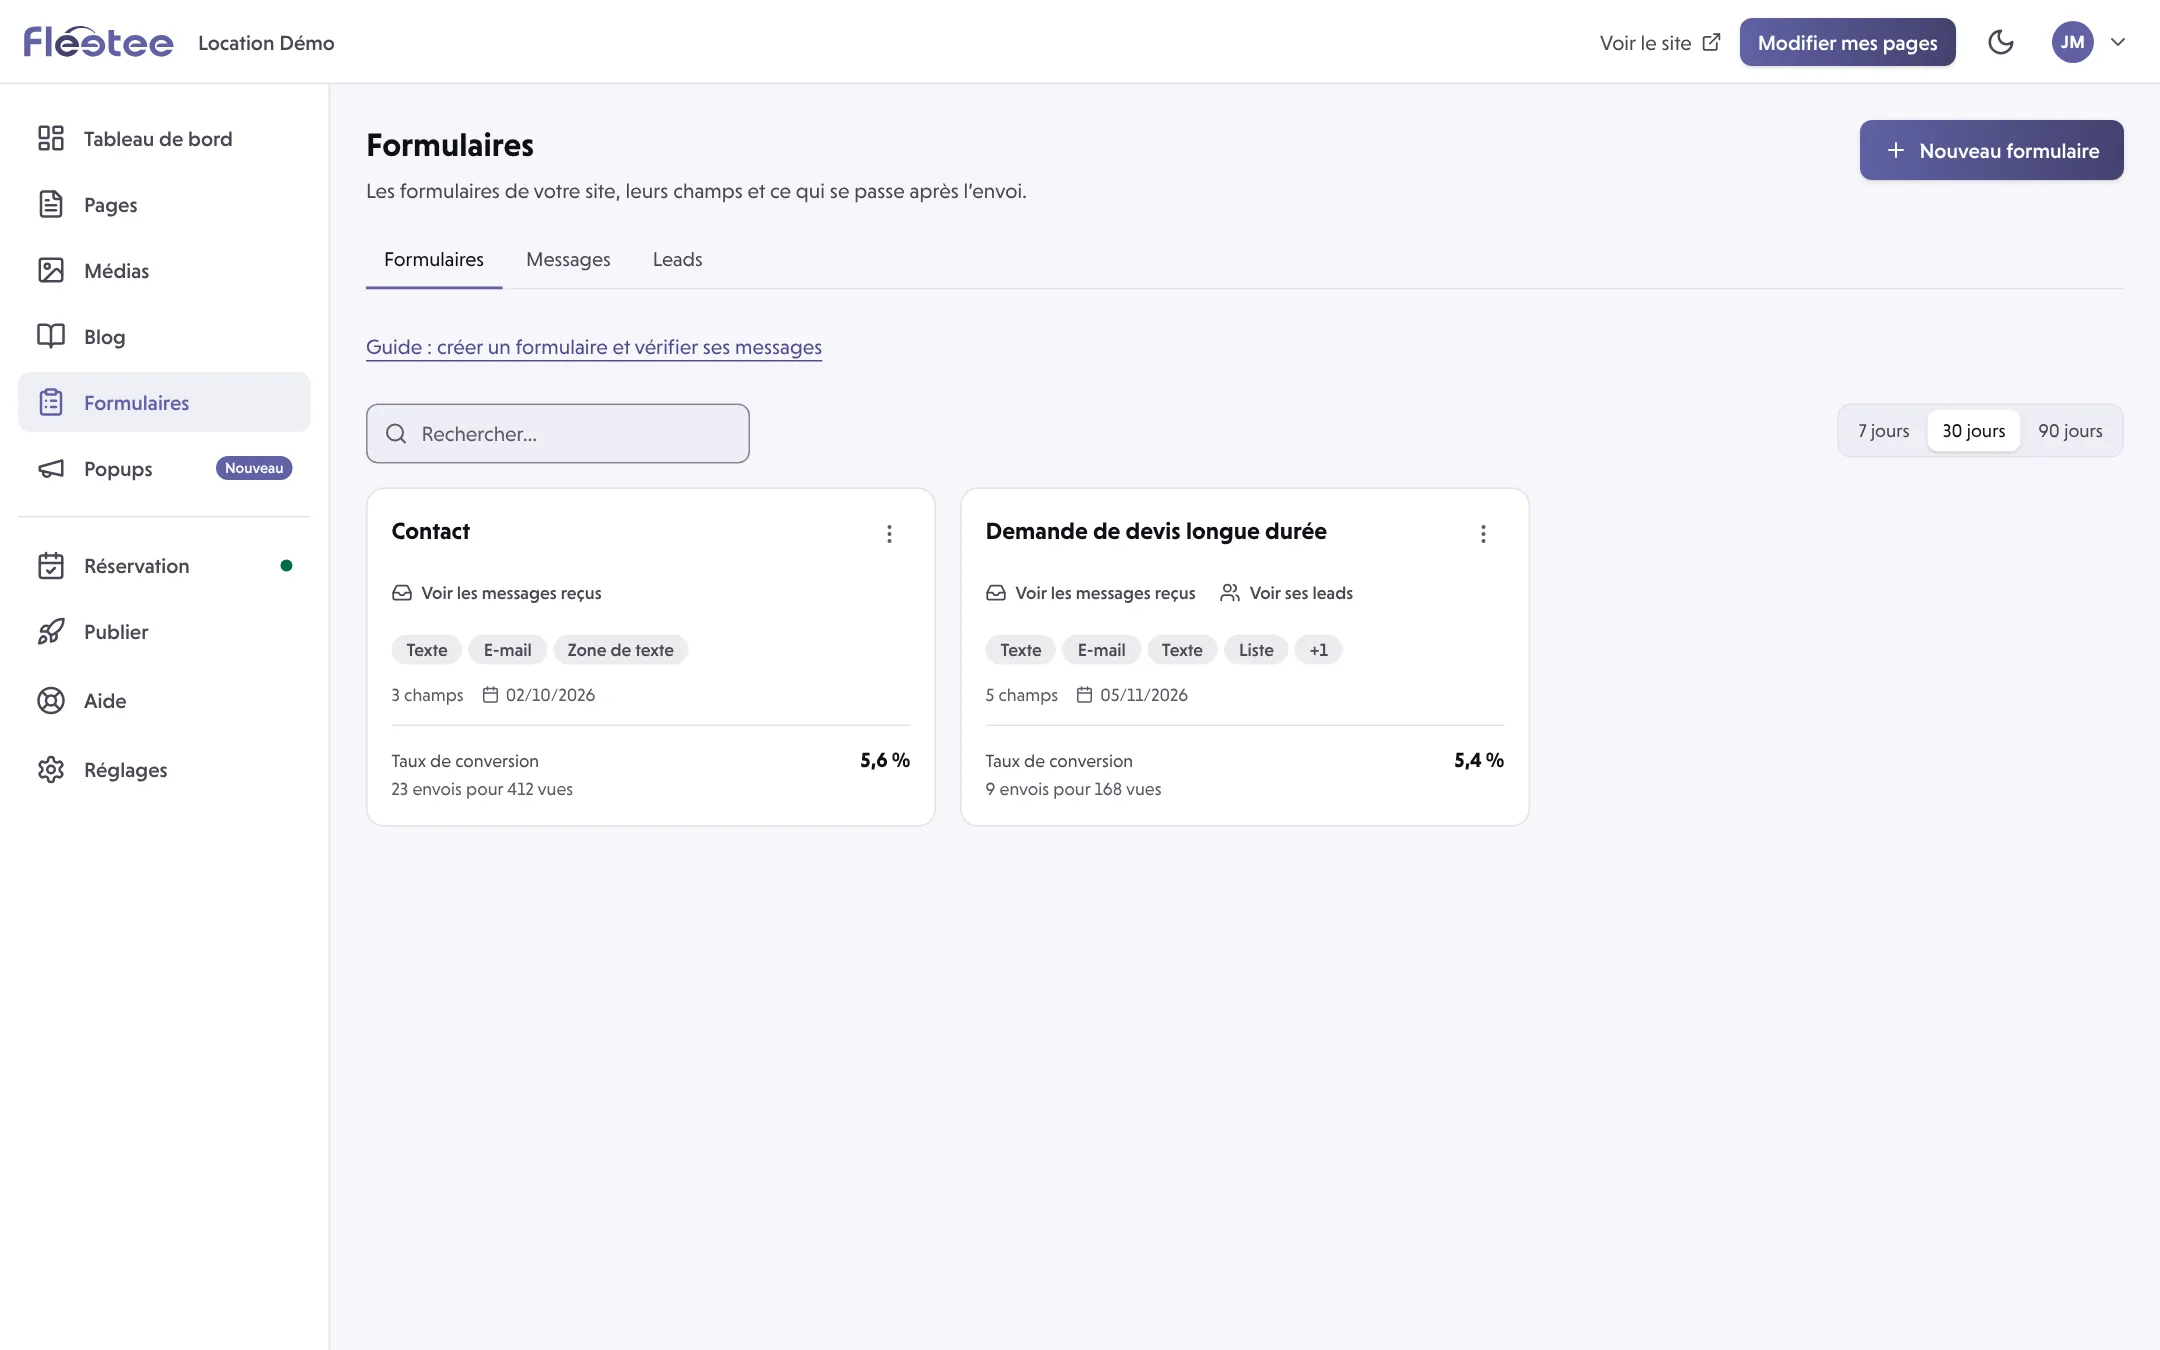
Open Formulaires and click “Nouveau formulaire”
Give it a Nom du formulaire (form name) your team will recognise: it is a management name, not necessarily the title shown on the page.
Add the fields
In Champs (fields), use Ajouter un champ (text, e-mail, message, choice list, acceptance…). For each field, fill in the Question affichée (displayed question) and make it required only if it is essential. For a consent, state clearly what the person agrees to. Fill in the Texte du bouton (button text), for example “Demander un devis”.
Set “Après l’envoi” (after sending)
Choose what the visitor sees (a message, a message with a button, a page or a web address). Fill in Message de remerciement (thank-you message) and Message en cas d’échec de l’envoi (failure message). Prévenir par e-mail shows who is notified; E-mail de confirmation au visiteur needs an E-mail field in the form.
Save, then insert the form in a page
In Pages, at the chosen spot, Ajouter un bloc (add a block) then Formulaire, and pick the saved form. Save the page, check its preview, then publish.
The Formulaire de contact block is different: it shows the site’s contact form, not just any form.
Check a real submission
The quick preview may show a simulated confirmation without sending anything. To be sure:
- On the public page, fill in the form with an identifiable message (“TEST — do not process”) and an address you control. Send once.
- In Formulaires, open Voir les messages reçus (view received messages) for the form: the message being there proves it is recorded.
- Check the e-mail’s sending status in the message, then the recipient’s inbox and spam folder. A missing e-mail does not mean the message is lost.
Protections limit the number of submissions: do not repeat the test many times.
Where to find it: Blog; Formulaires (Forms)
Where to find it: Blog ; Formulaires (Forms)
Go further
Updated on 18 November 2026 with version 2.0